Zine Origami: A Tutorial
June 2, 2017 Jamey Alea 2 Comments
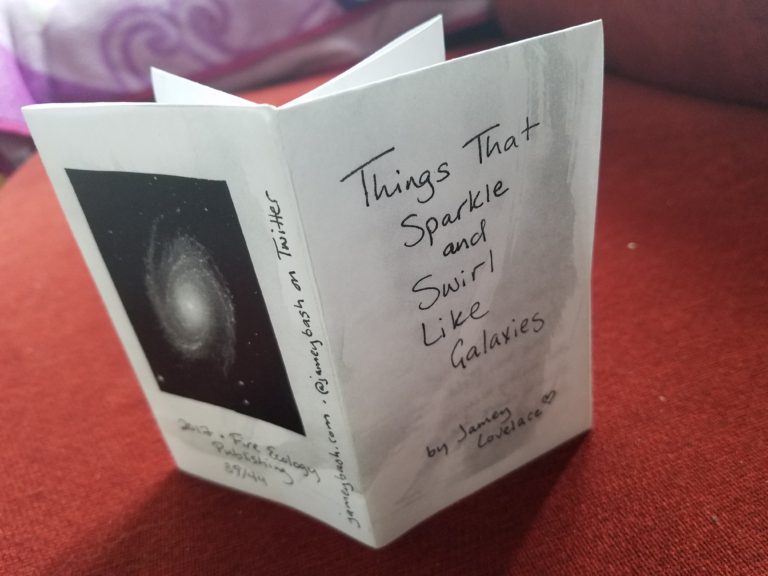
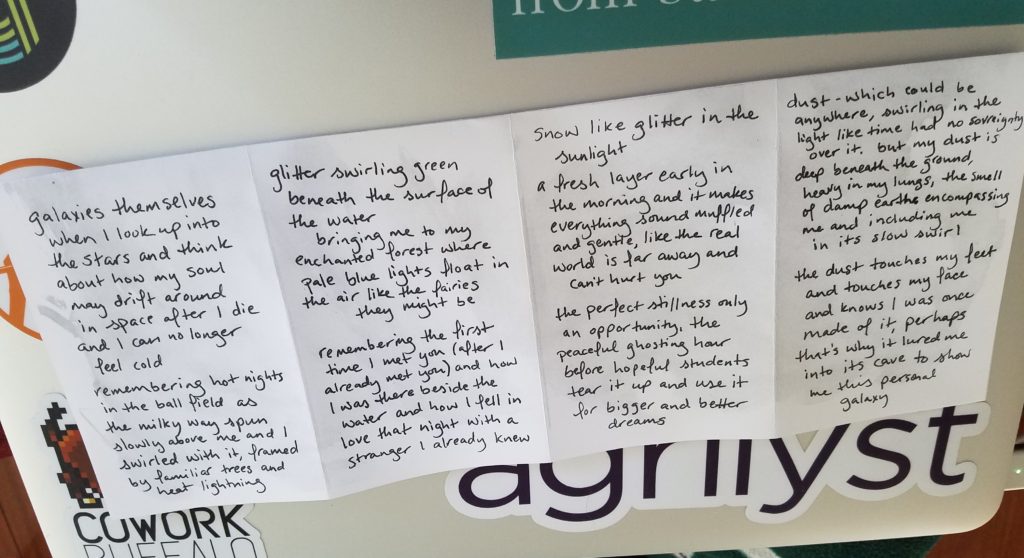
I just finished my newest zine, which I’ll be featuring on the site next week, and it’s gotten me pretty hype about sharing the magic of zinemaking with everyone I know! This time I did a small, 8 page zine that you can make with a single piece of paper and a little bit of fancy folding! I love the one-page zine format because it’s super small and cute, it’s short and quick to put together, and it’s easy (and cheap) to make copies of because all of the content lives on the same side of the paper. I really love it because if I have a little persistent artistic thought, this format makes it easy to make something small and get it out of my head and out into the world.
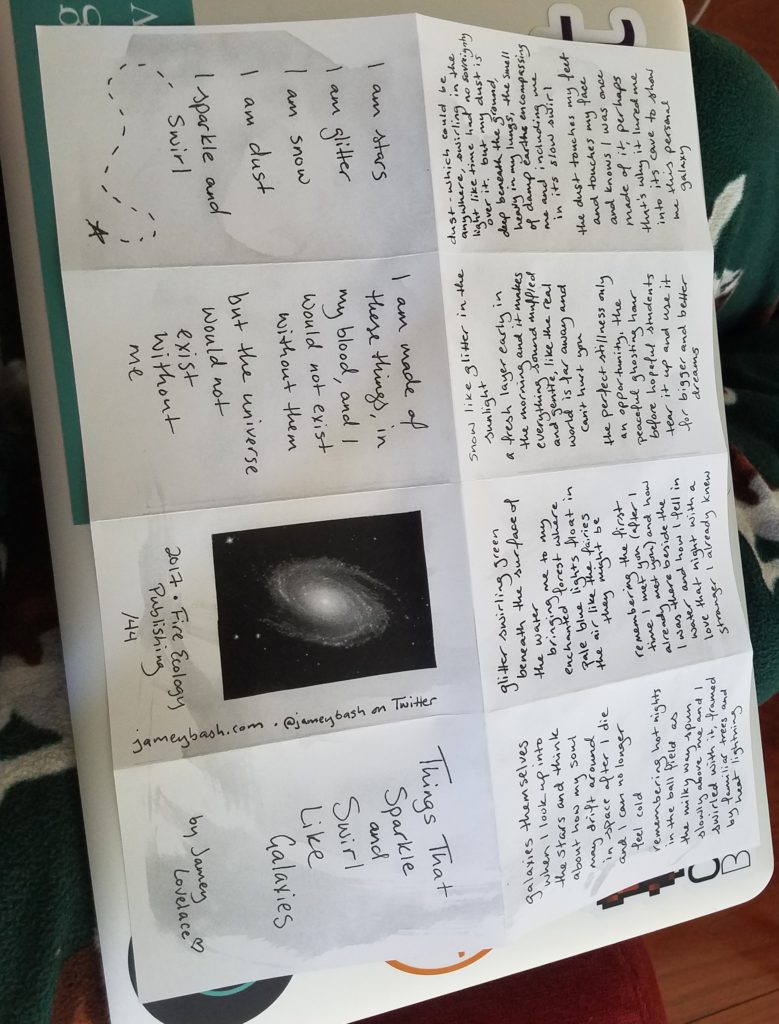
You can see what the finished product looks like above!
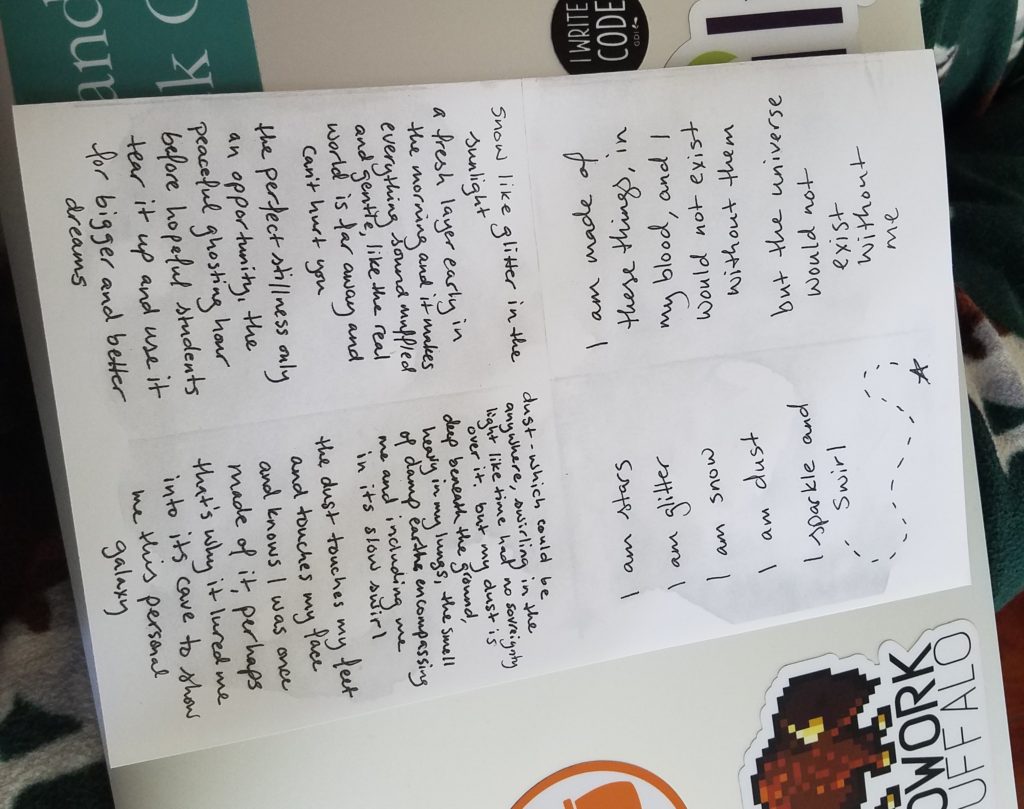
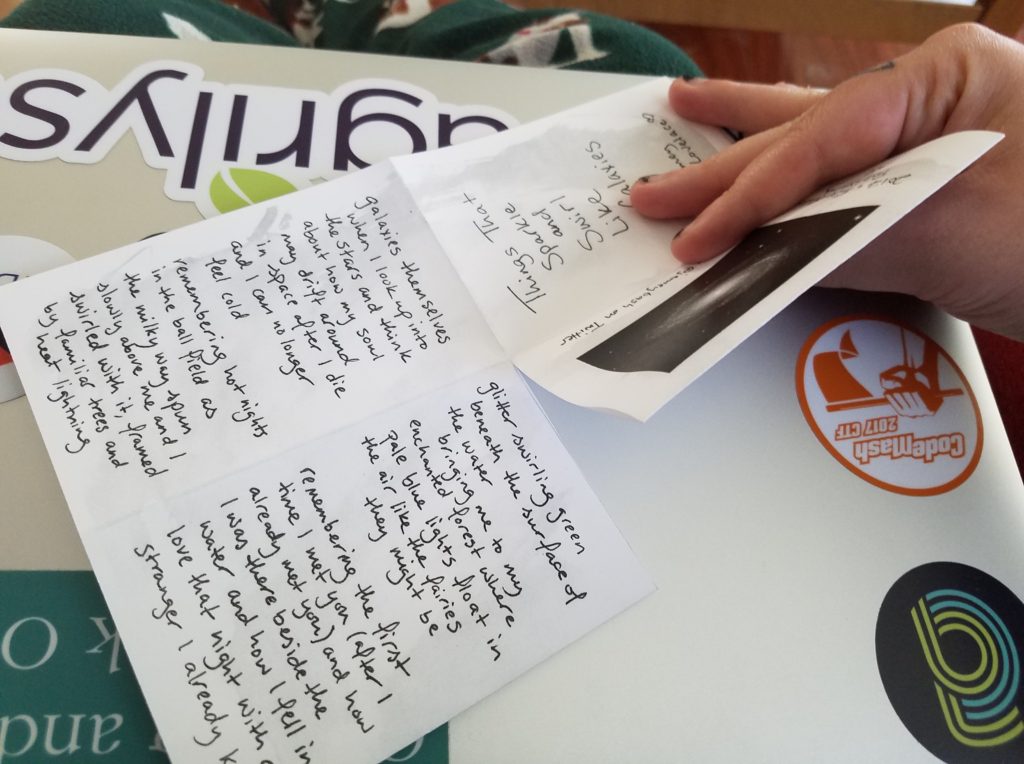
And it’s really not hard to make once you get the hang of it! I’m demonstrating on a completed zine because I think it illustrates the steps better when you can kind of spacially keep track of where the different pages are, but your best bet is to do the folds on a blank sheet, then write/paste your content onto it and then make copies!
First fold your paper in half, the hamburger way! (lol)
Then, unfold it and fold each of the sides into the middle crease you just made, like this.
Unfold the whole thing and fold it in half the other way. (Hot dog way!)
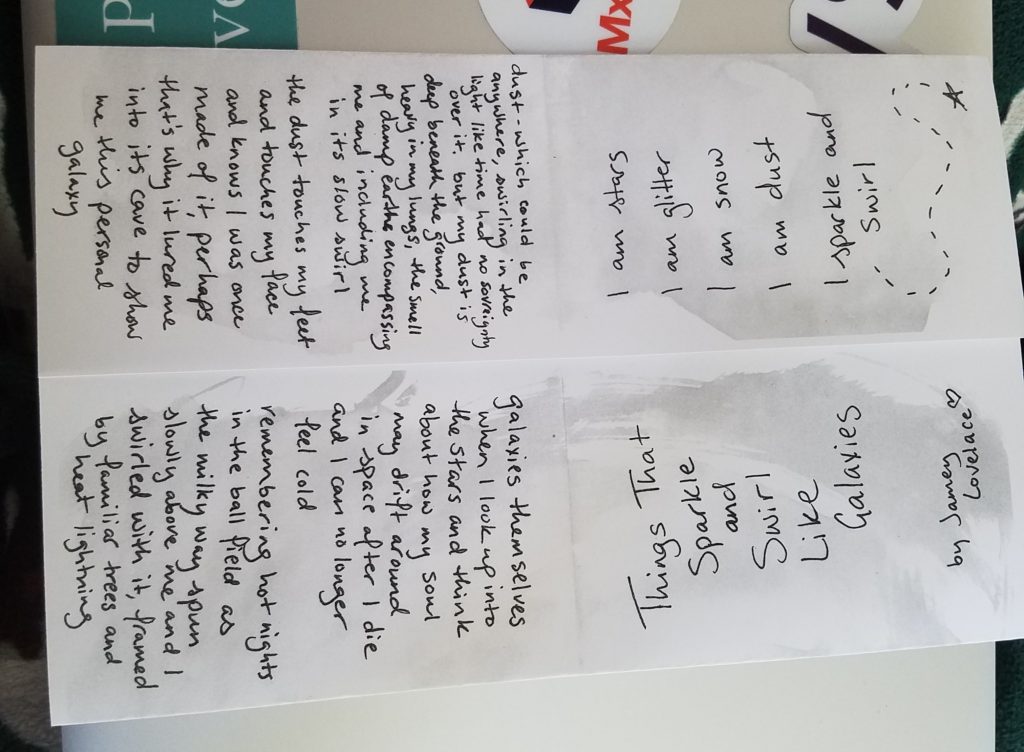
Your paper should be folded in eight equal sections and it should look like this:
Great! Each of those sections is one page of your zine. Now you have to make one cut. Fold it back like it was originally and cut on the middle crease only halfway. That’s the width of one page.

Now here’s the only tricky part. Position your page like this, so the slit you cut opens up into kind of a star shape:
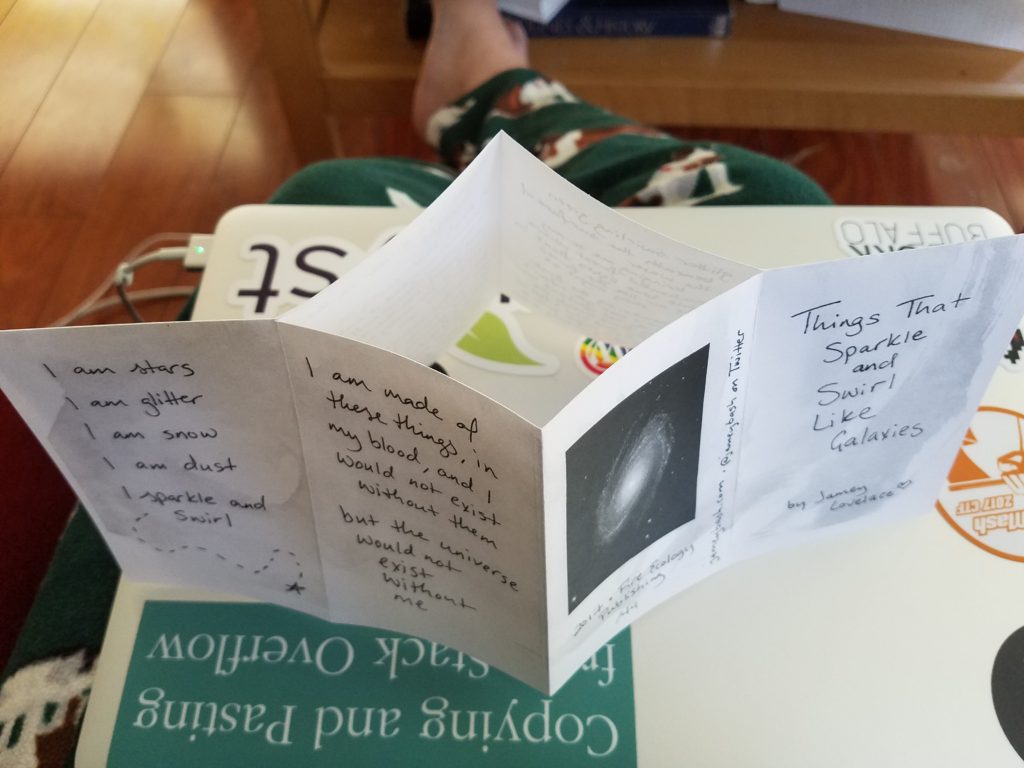
And then push the sides in and flatten it out. This is the step I found kind of hard to visualize at first, so I made it into a gif to try to help.
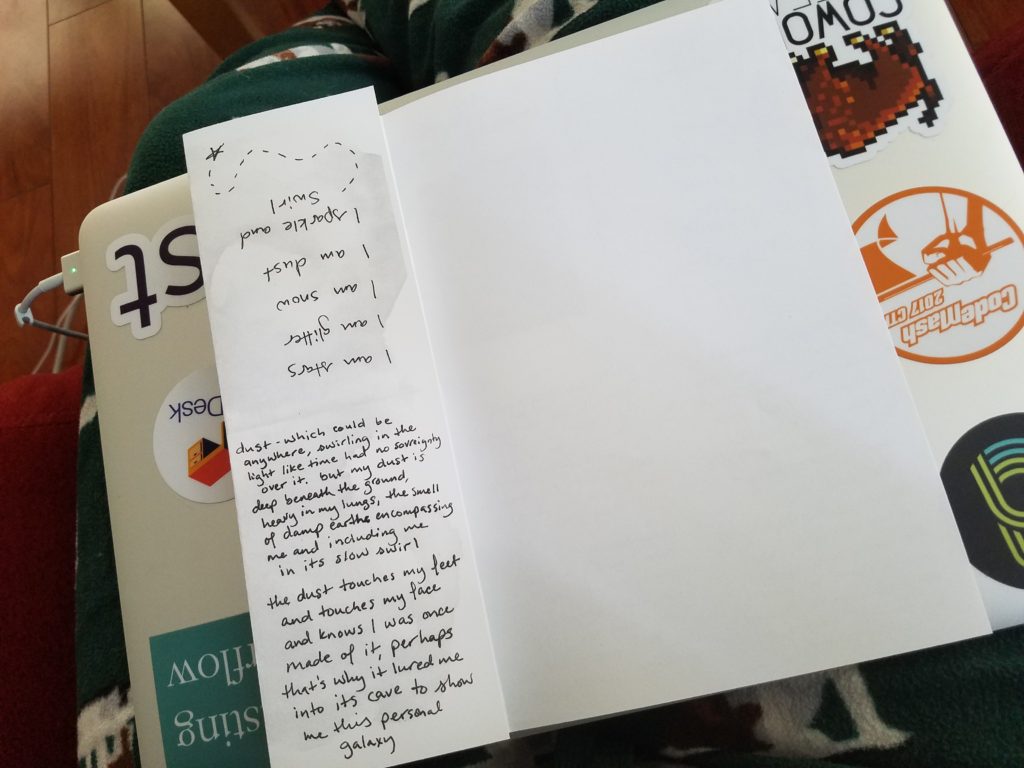
Tada! You’ve folded yourself a cute, tiny zine! If you just want to have content on each of the pages like in my example, then do as I did and put it all on one side of the paper and leave the back blank. Or you could put a poster on the back side, as a fun bonus for anyone who tries to unfold your zine!
Happy zinemaking! If you make a zine using this tutorial, I’d love to see it! Tweet me or email me at jameybash@gmail.com! Bonus points if you’re willing to snail mail me a copy and I’d be happy forever! (:
Comments